Learn about the General Imaging Adjustments like Freeze, Auto freeze, Gain, Time Gain Compensation (TGC), Depth, Zoom and Pan, Resolution and Penetration Setting and Video Buffer
- Scanning does not start if the Vscan Air probe is not connected to a Vscan Air app.
- Black and white (B-mode) imaging is intended to provide two-dimensional images and measurement capabilities concerning the anatomical structure of soft tissue.
- Black and white (B-mode) imaging is the default scanning mode.
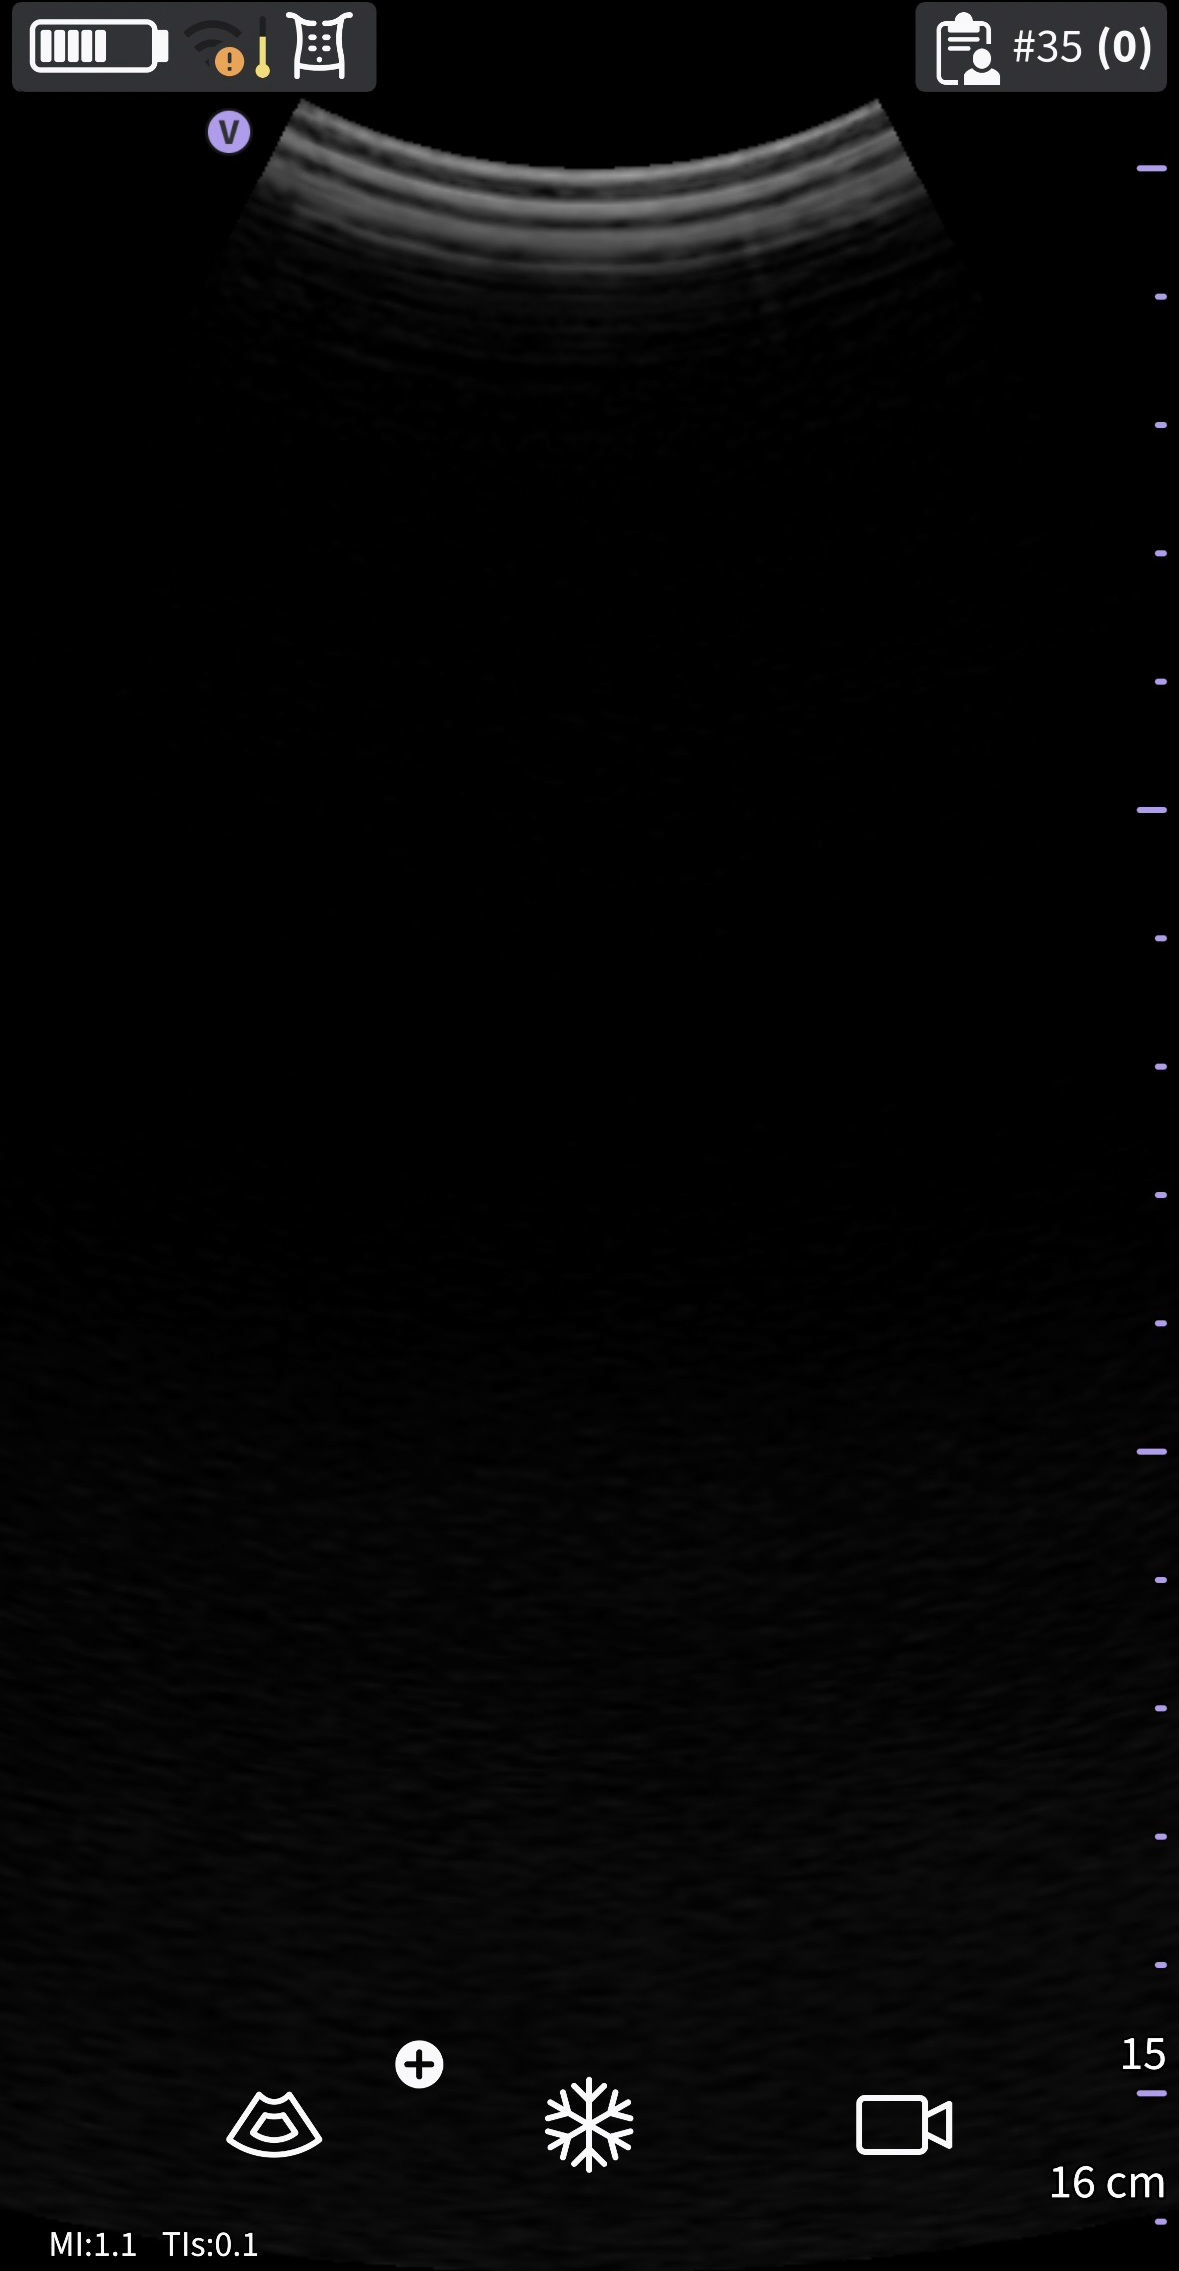
Black/ white (B-mode) scan screen
NOTE: As a safety precaution, scanning is not possible when charging the Vscan Air probe.
Freeze
To freeze an image: Press the Freeze button

Tap or press
When in freeze mode, you can store an image or review frames in the available video buffer.
To reactivate the image: Press Freeze icon again
Video Buffer
Video buffer displays with an ability to scroll, play and pause the frames in the video buffer.The indicator is placed on the last frame.
To jump frames:
1. Tap on the video buffer bar to view any frame.
2. Scroll to jump multiple frames.
Auto freeze
If Vscan Air probe is idle for a period of time, the device enters freeze mode to minimize risk of overheating and battery drainage. Press the display to unfreeze the image and continue scanning.
Gain
Black and white gain increases or decreases the amount of echo information displayed in an image. It may have the effect of brightening or darkening the image if sufficient echo information is generated.
1. Swipe at least half a centimeter from the left or right on the scan screen to initiate a gain change.
Drag
NOTE: Small movements will be ignored to avoid unintentional activation of the gain control.2. Move your finger to the right or left to increase or decrease gain.
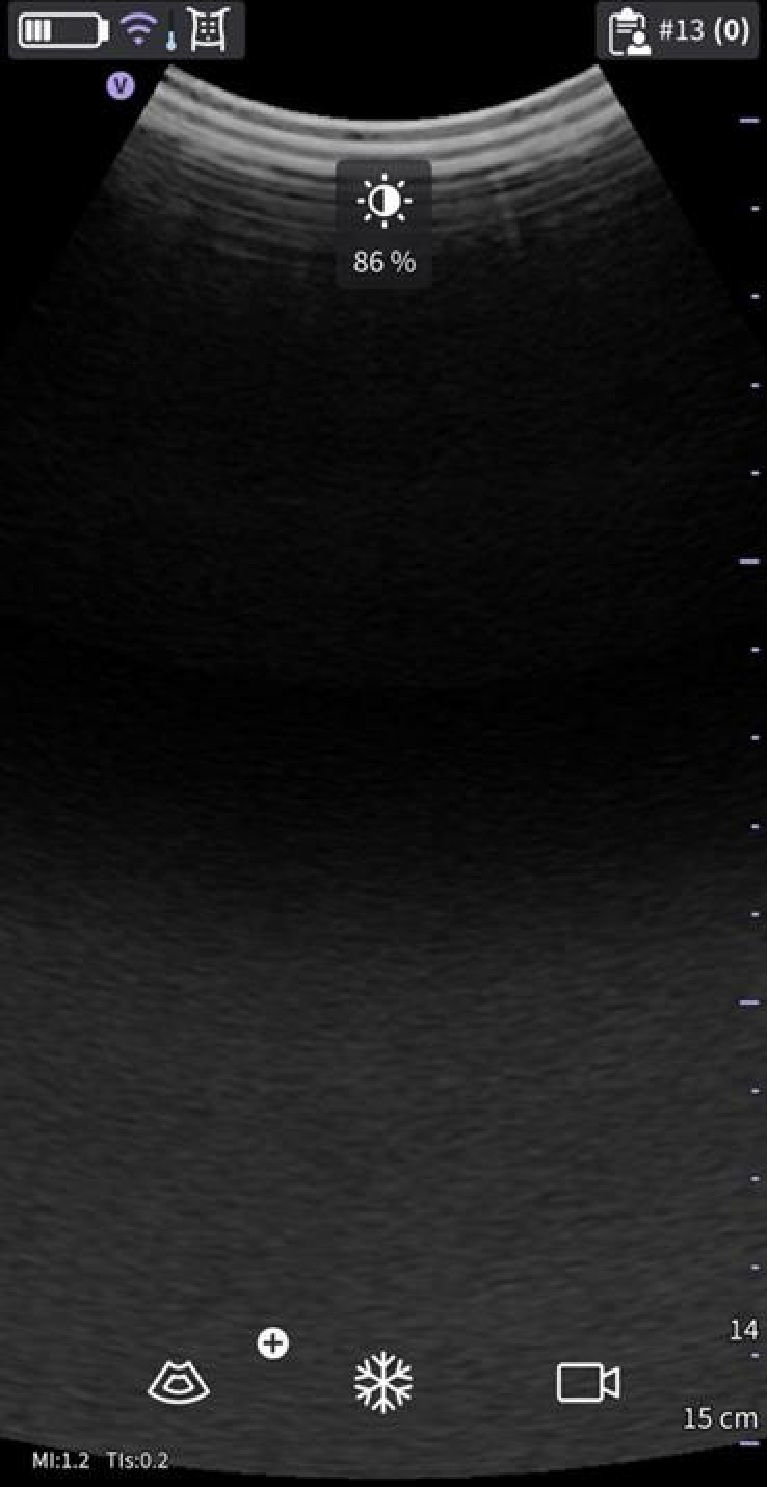
Gain
The adjusted gain value is seen with the icon on the top of the screen.
Time Gain Compensation (TGC)
- TGC amplifies returning signals to correct for the attenuation caused by tissues at increasing depths.
- TGC sliders are spaced proportionately to the depth. The area each slider amplifies varies as well.
- Turn ON or OFF the TGC Controls from the Menu screen.
- The TGC controls are displayed on the scan screen as soon as you start adjusting gain by sliding your finger on any part of the image.
- Adjust individual TGC sliders to adjust the intensity of echoes in a particular depth of the image.
- The TGC sliders will disappear from screen after a timeout period.
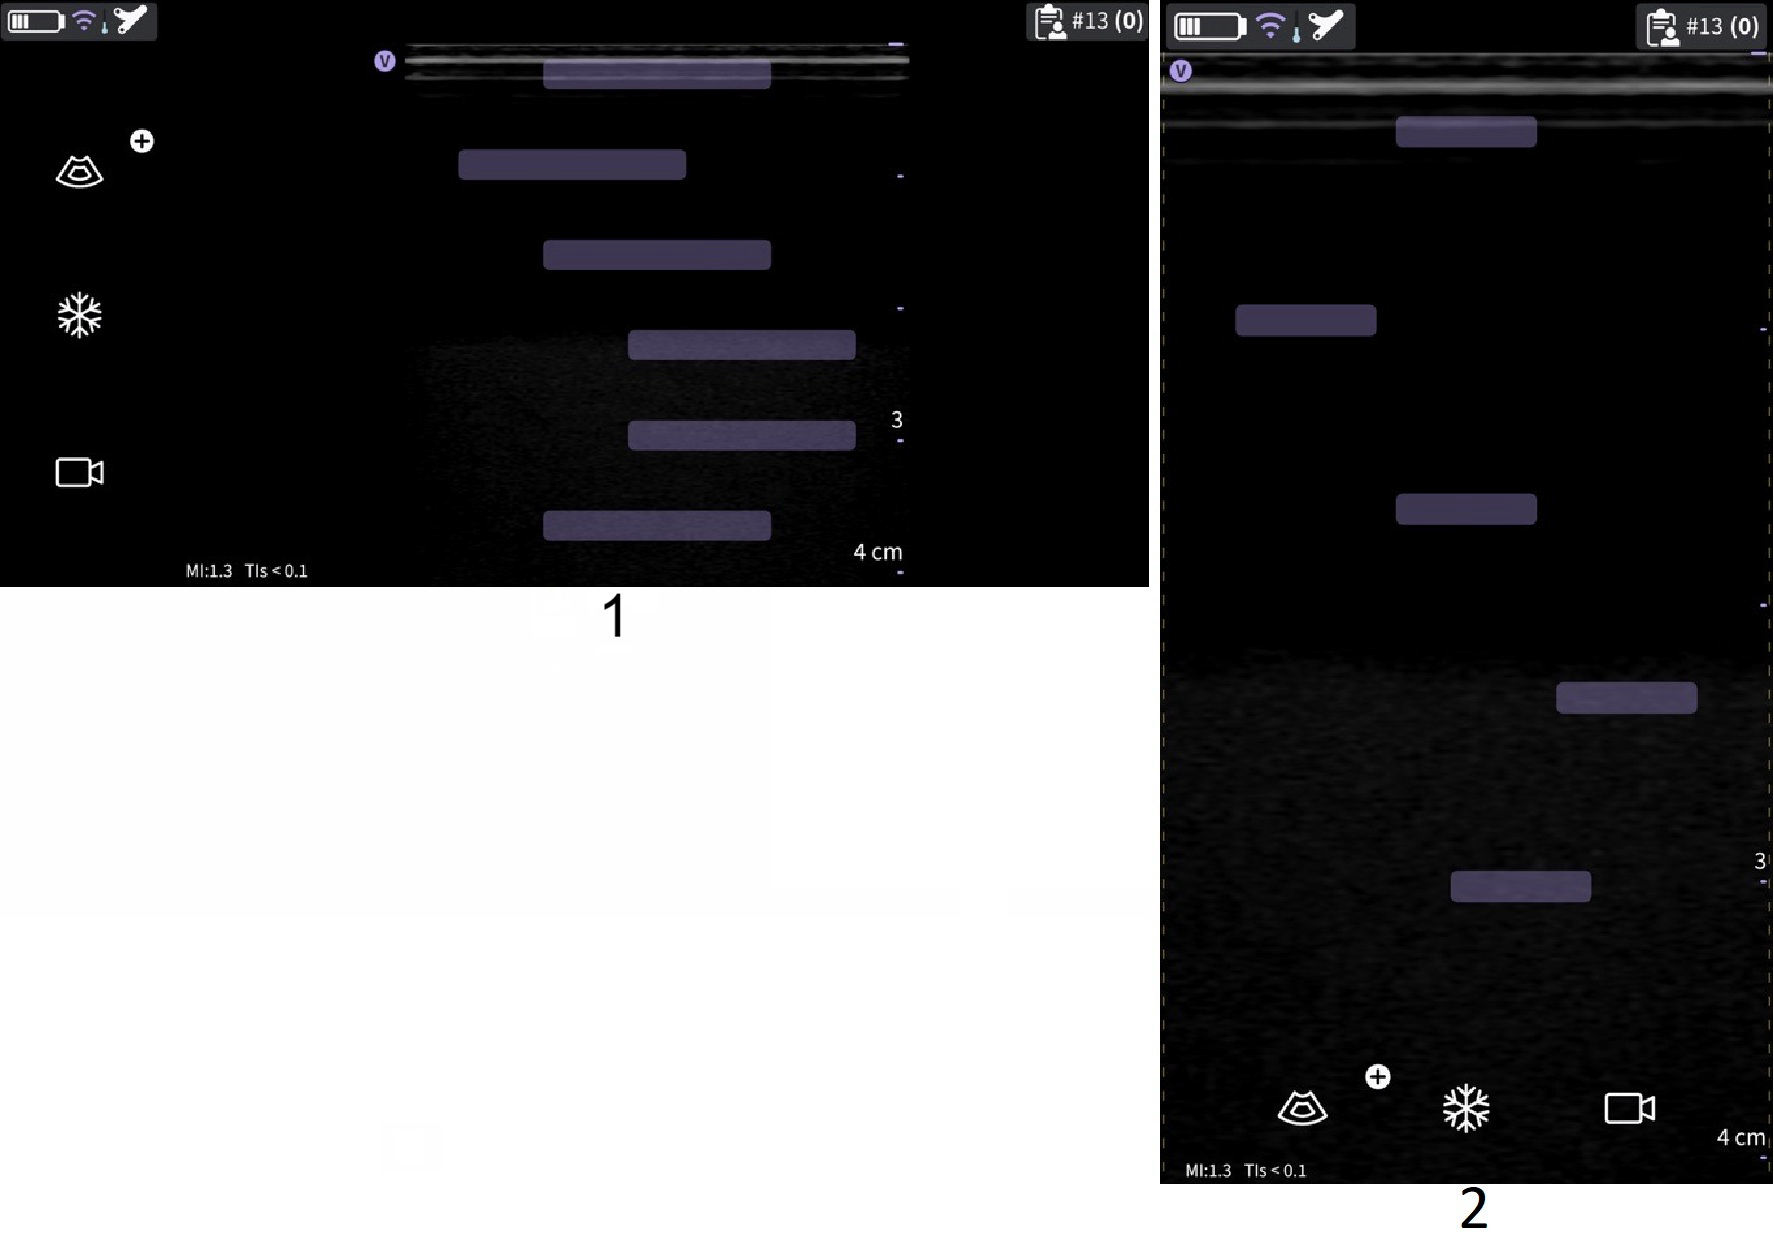
TGC
- Landscape mode
- Portrait mode
NOTE: The Gain control is disabled as long as the TGC controls are active.Depth
Depth adjusts the field of view. It increases the field of view to look at larger or deeper structures; it decreases the field of view to look at structures near the skin line.
1. Swipe your finger up/down on the screen at least half a centimeter to initiate depth
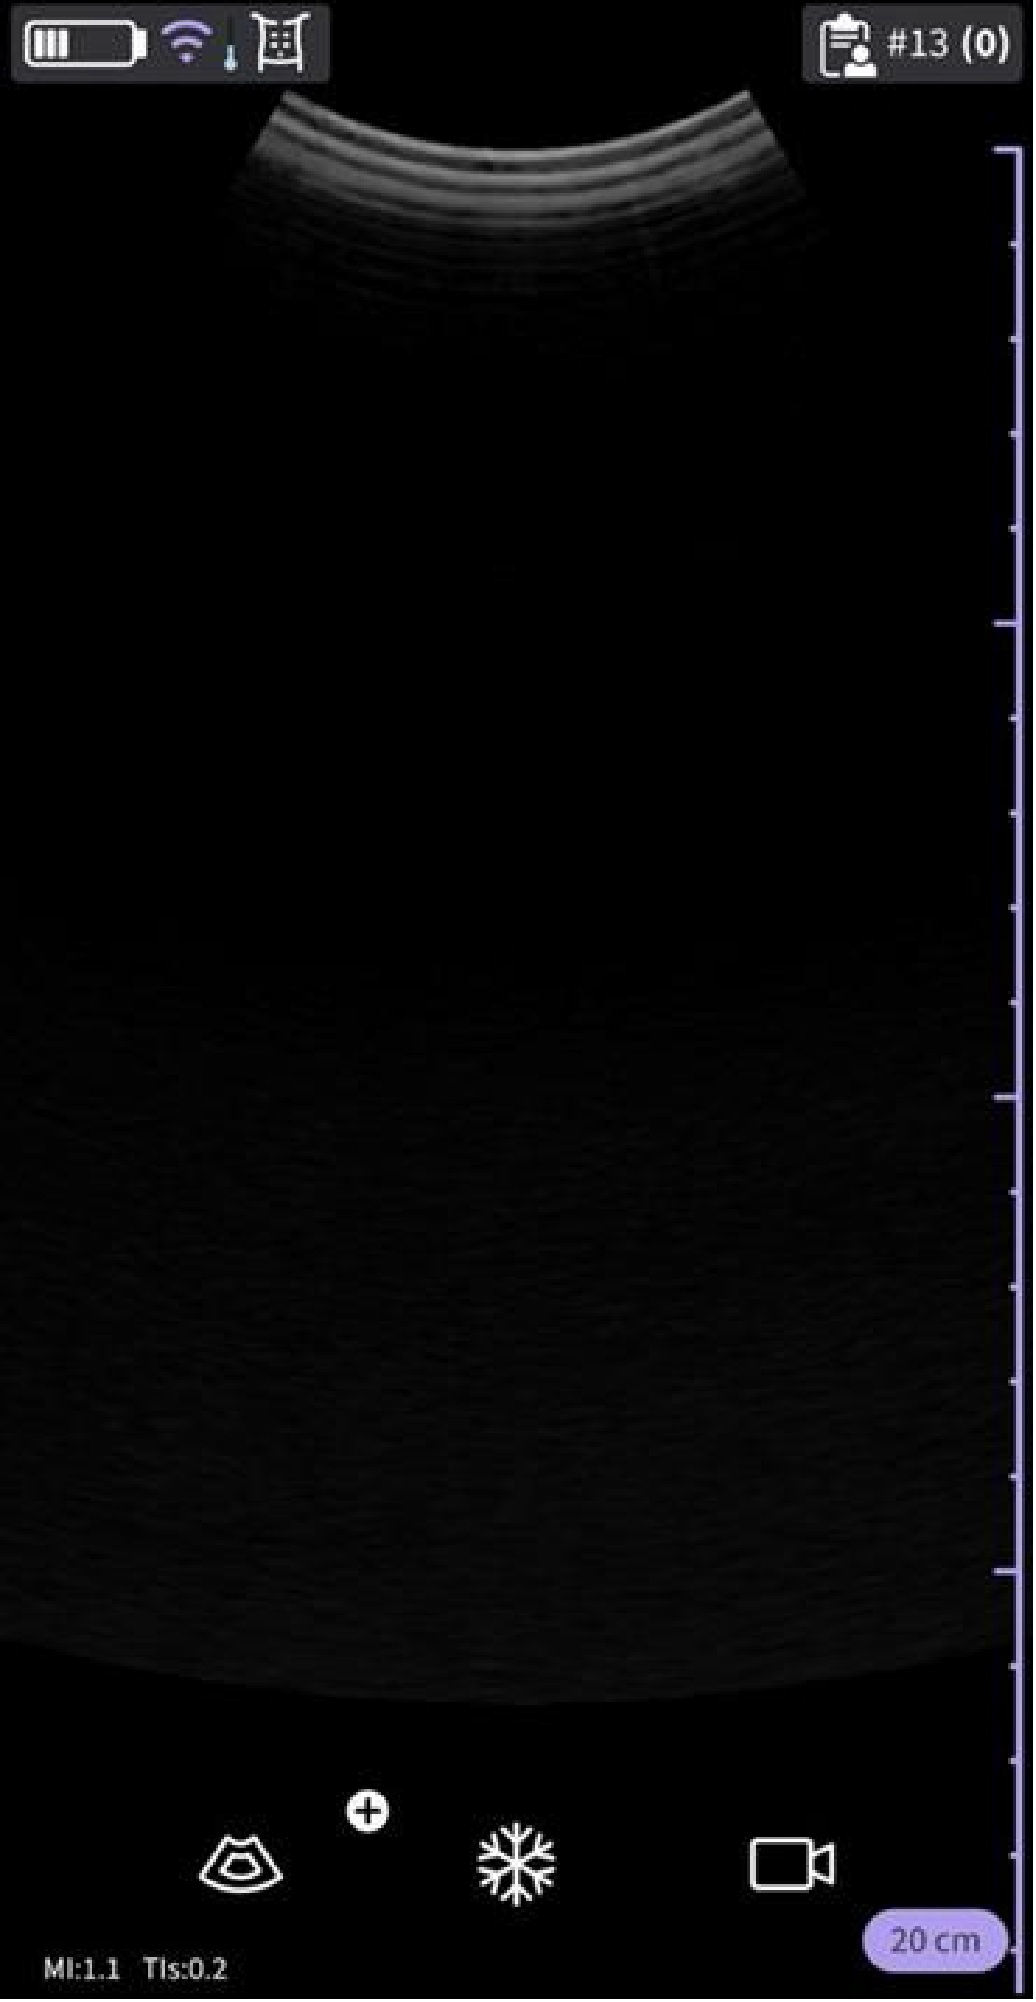
Depth adjustment
NOTE: Small movements will be ignored to avoid unintentional activation of the Depth control. At the start of the swipe, the depth indicator shows the depth change.
2. Change depth per cm from 5-24 cm. (or) Change depth per 0.5 cm from 2-5 cm.
NOTE: When the screen is rotated from portrait to landscape, depth remains unchanged.Zoom and Pan
Pinch on the image with two fingers to zoom.
To pan or move the zoomed area, slide your finger on the image in the direction where you want the zoomed area to move.

Pinch
An indicator will be displayed on the image whenever Zoom is activated to help recognize a zoomed image easily. Zooming will be disabled if clicking the on screen Zoom indicator when in Zoom.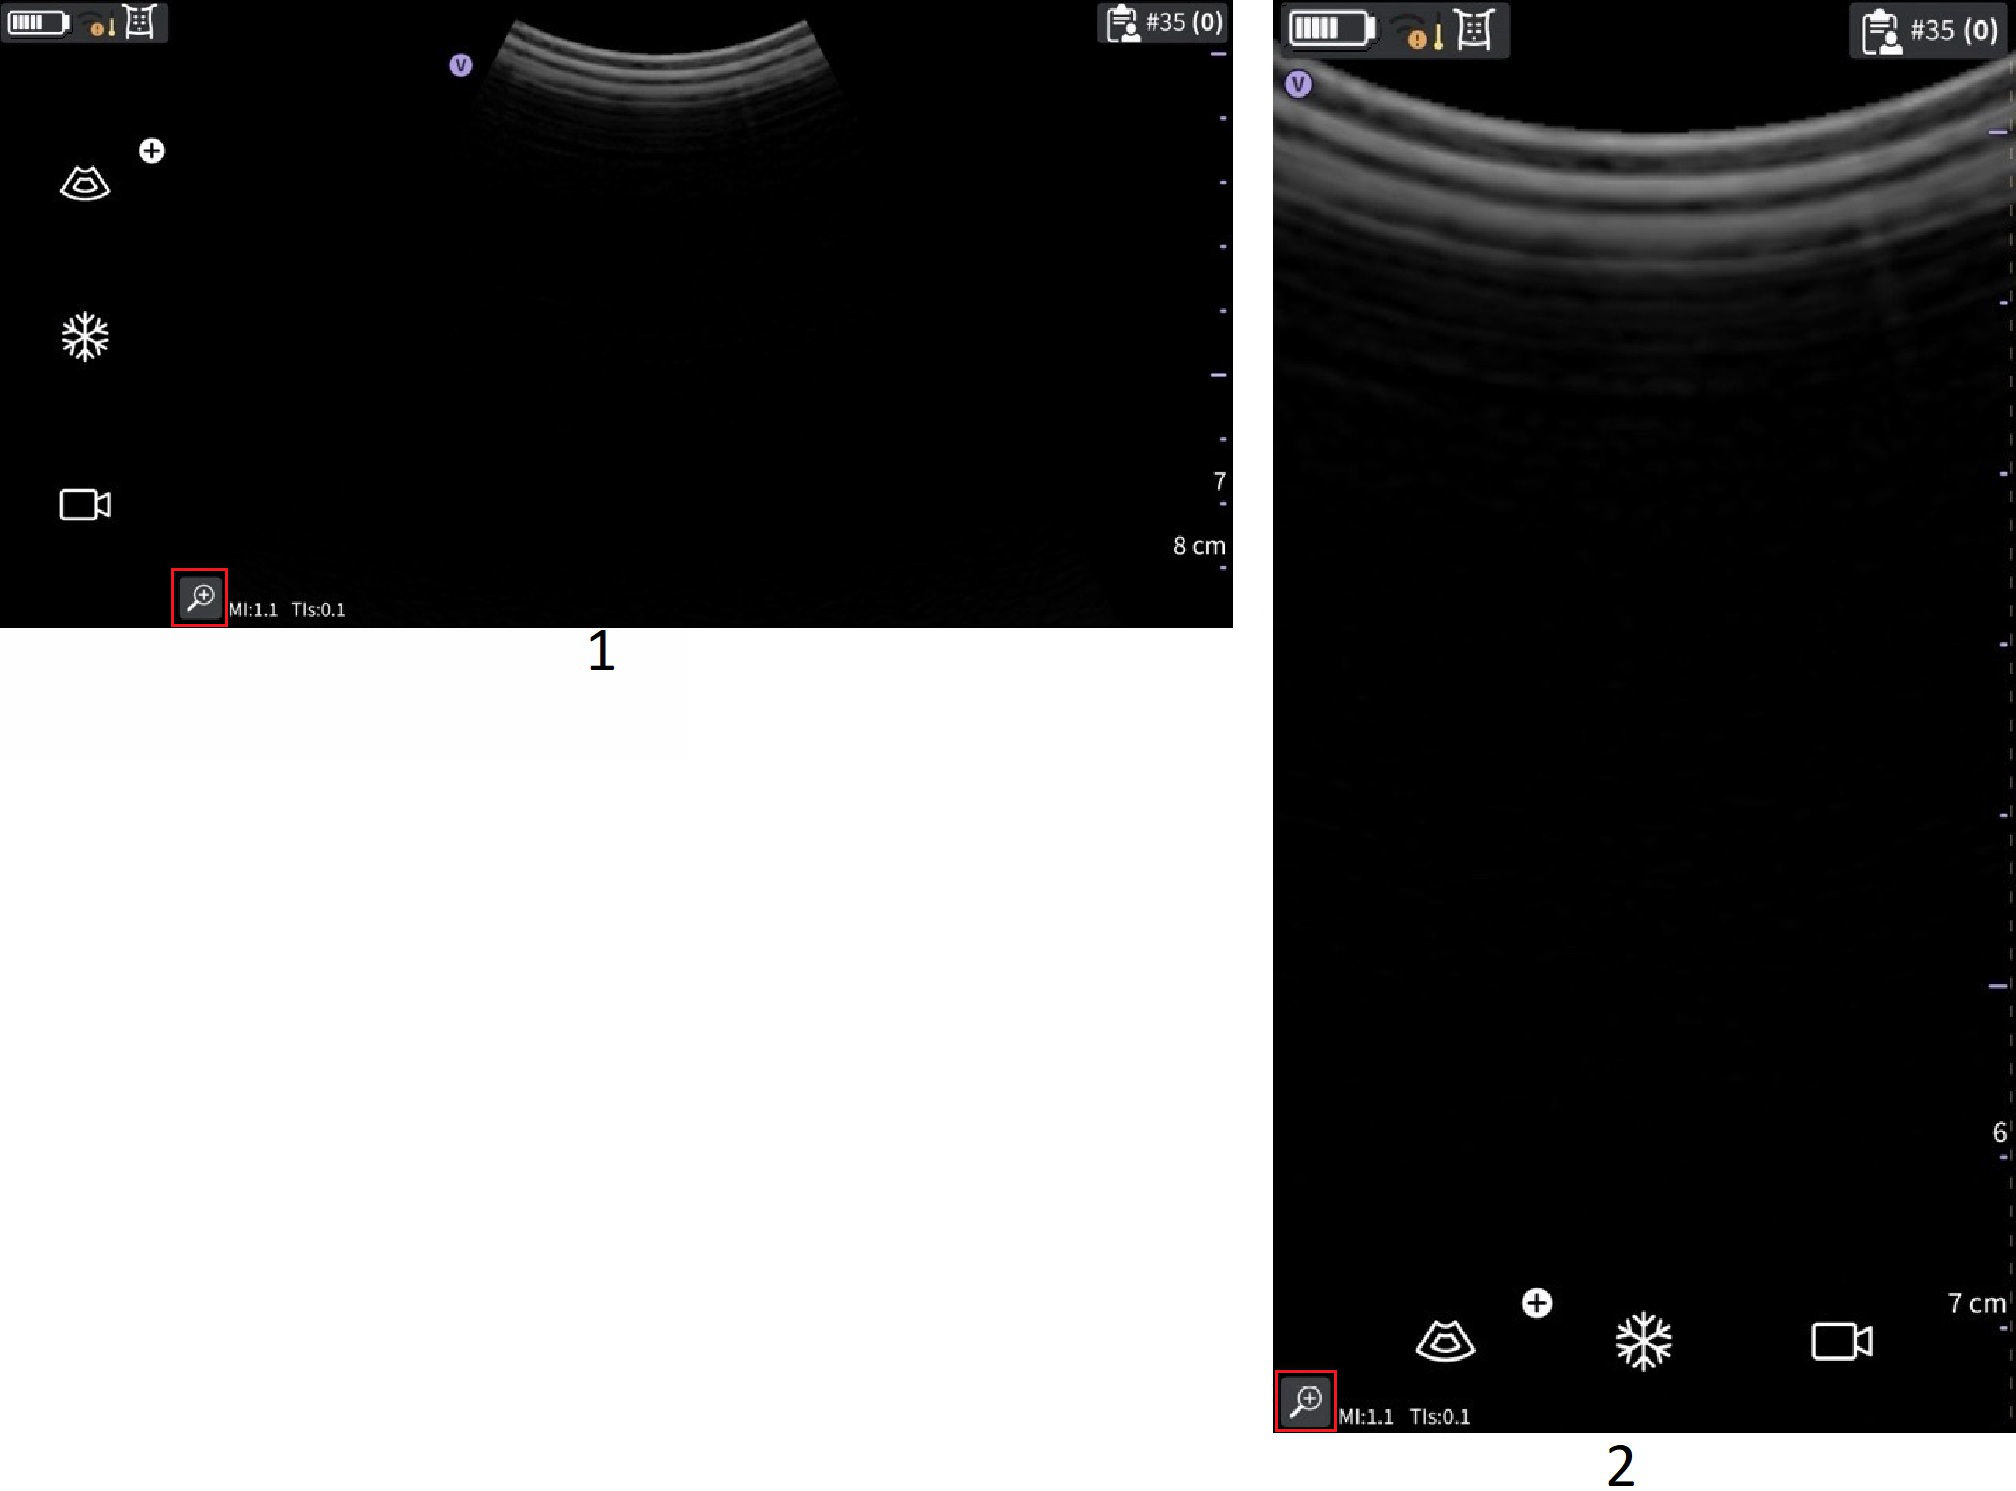
Zoom indicator
- Landscape mode
- Portrait mode
NOTE: The images can be zoomed only before saving. The zoom level applied at the time of storing a video is used for the length of the video being stored. This applies even if the zoom level has been changed during the time captured by the video.
NOTE: While zooming, one or both edges of the image may go out of the field of view on the screen. In such cases, you will see ‘Image crop indicators’ appear on the sides where the image edge is not visualized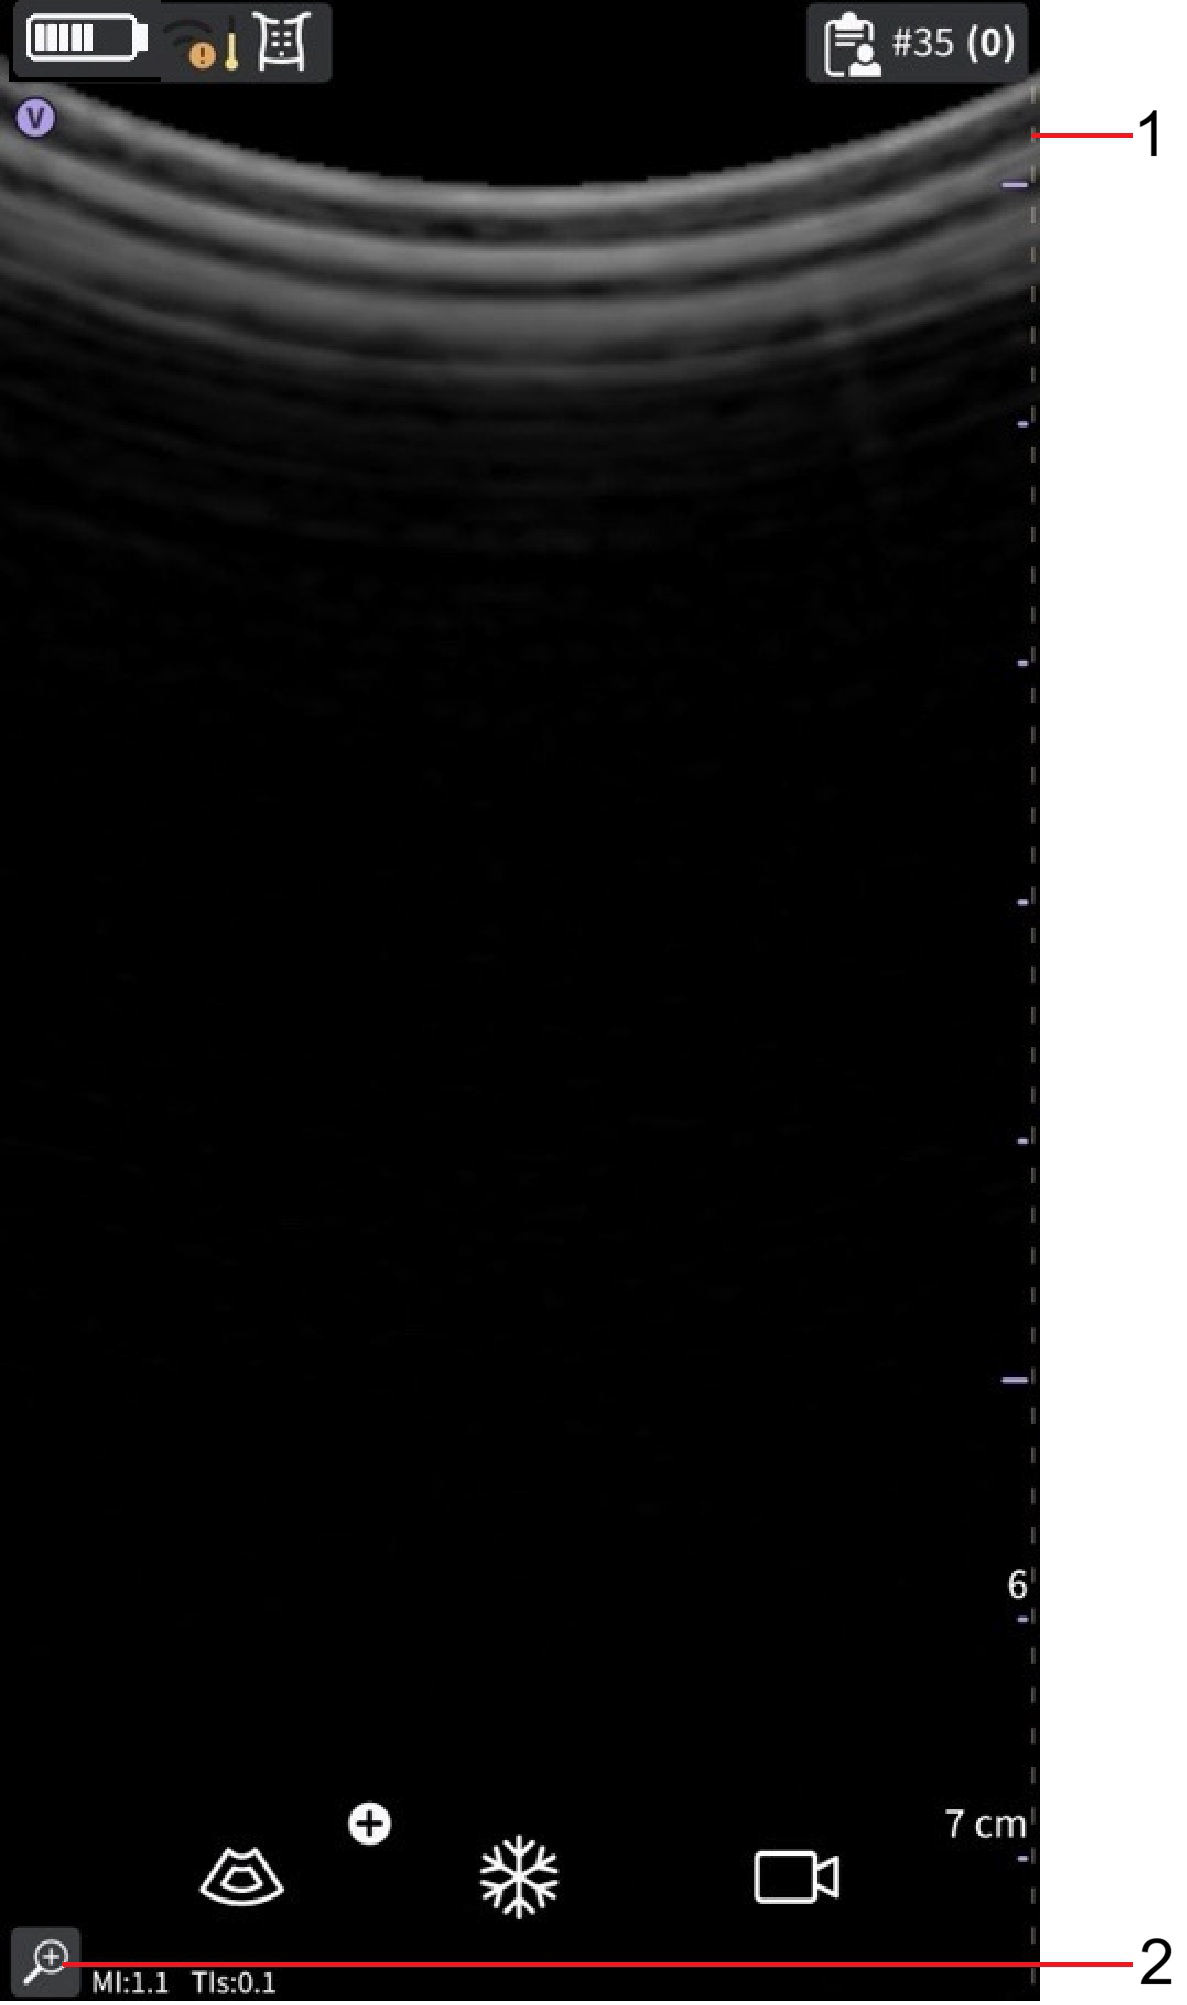
Curved array transducer
- Zoom indicator
- Crop indicator
Resolution and Penetration settings
For a few presets, there is a control available in the black and white mode for alternating between Resolution and Penetration settings.
Resolution setting is the default setting optimized for high resolution imaging balancing adequate penetration for average sized patients.
Penetration setting is useful for imaging at greater depths by optimizing visualization of structures in the far-field in larger than average or difficult to scan patients. An increase in penetration is obtained at the expense of decreased resolution.
The presets that support selection of Penetration setting are listed below.
Curved array | Sector array | Linear array |
| Abdominal | Abdominal | Vascular |
| Cardiac |
To switch between the ‘Resolution’ (default) and ‘Penetration’ settings, tap on the preferred setting. The selected setting is highlighted. Depth is maintained while alternating between the two settings.
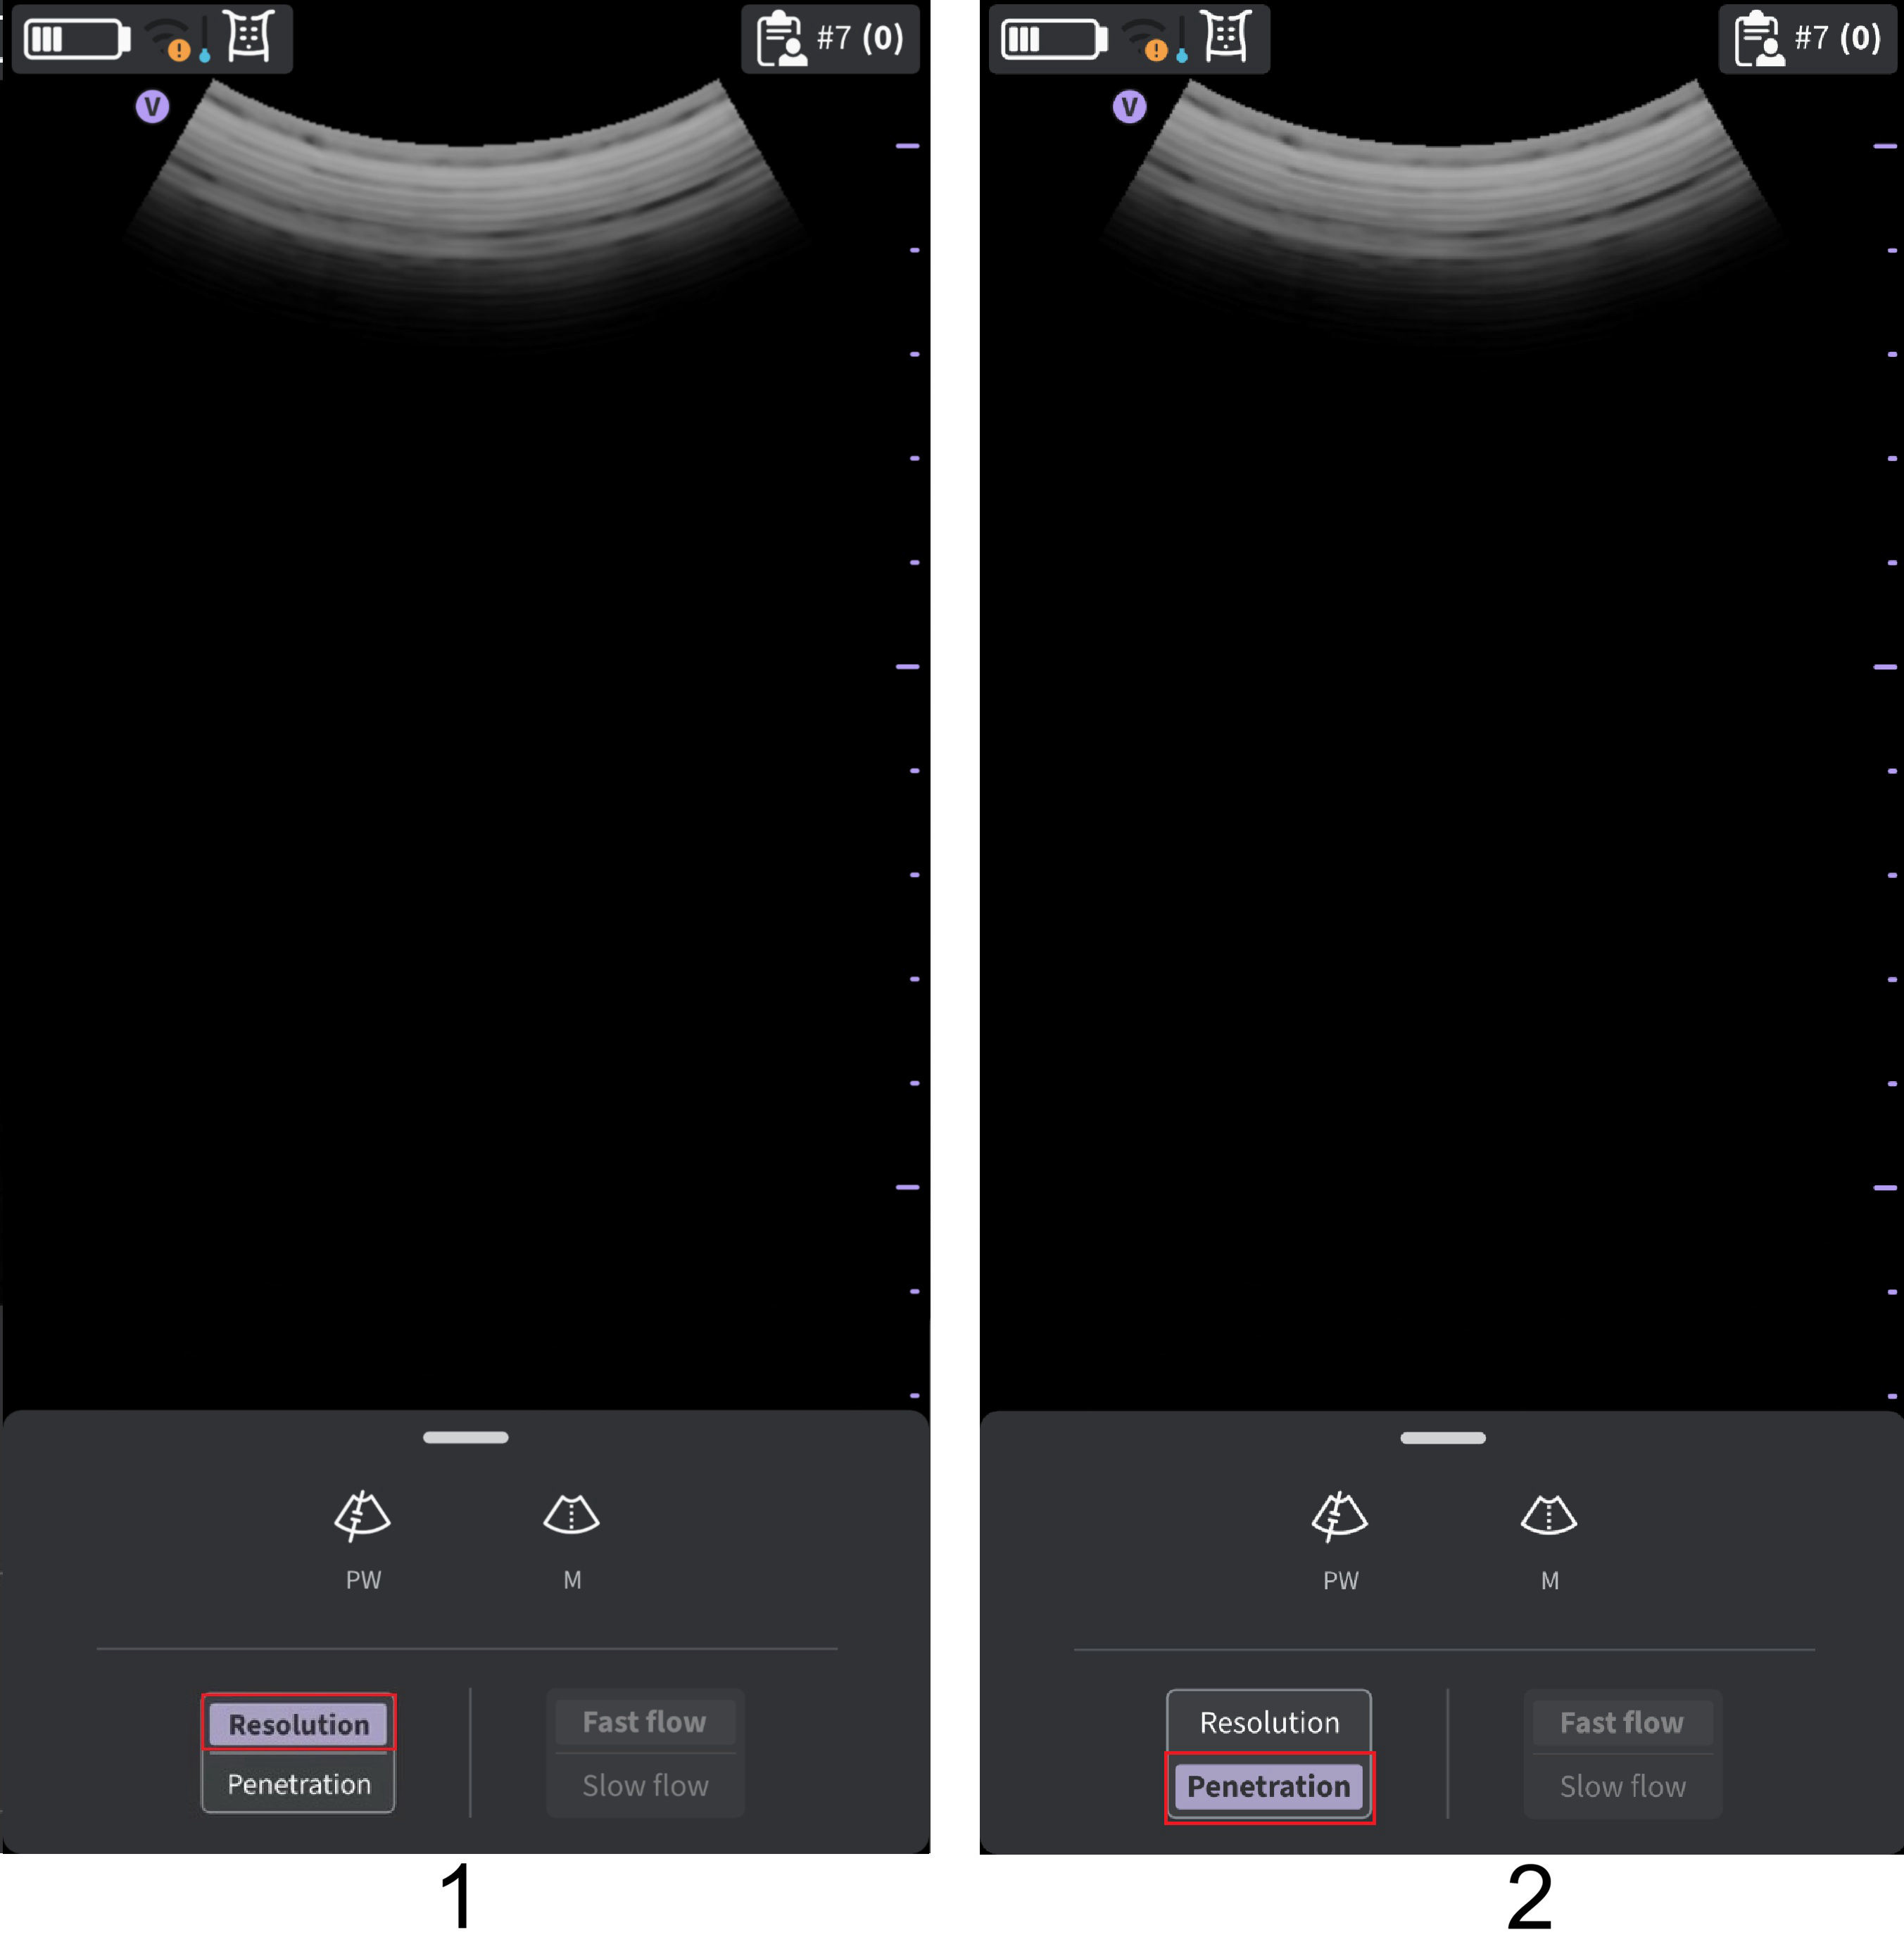
Resolution and Penetration setting
- Resolution setting (default)
- Penetration setting
Disclaimer: The information herein is not intended to replace the product’s User Manual. Please consult the User Manual for comprehensive information and cautionary guidance about the product’s operation and use